One of the greatest joys of sewing, for me, is choosing the fabrics for my new project. Many of us will head to our favorite quilting or fabric shop just for this. Others will head to their sewing room first, survey the piles and tubs of collected fabric and then head to the store to buy more! Most sewers have a stash of fabrics whether purchased “just because” or for an abandoned project. Lots of us have fabrics and patterns stacked up waiting for the time to start a new project.
A new year is a good time to tackle your fabric stash and organize so that you can find and use what you have. I have found (and used) a number of suggestions for fabric organization that have helped me tame my stash.
First, decide if you want to organize by color, designer, theme, etc. If you prefer to work with fabrics from the same designer or line, it makes sense to group the fabrics accordingly such as Fig Tree by Moda or Stonehenge by Northcott. I like working with color, so the majority of my fabric is organized by color. I do have one designer whose fabric I organize separately (Kaffe Fasset).
Once the fabric is separated into “major” categories, decide how you want to store these. Think about what types of projects you make and what amounts you most commonly use. For example, last year as I was sorting through my stash, I kept Fat Quarters and any intact yardage above a half-yard. Any fabric pieces that measured under the half-yard were set aside for further organization. The yardages were measured and I attached a note to each indicating the amount. I then wrapped the yardage on Fabric MiniBolts (you can also use comic book cardboard) and stored these on closet shelving and in some movable drawer storage. Again, these could be further organized by color, yardage, company, etc. The fabrics are stored away from light and dust. If you prewash your fabrics before using, you could also indicate which fabric has been washed and those that haven’t. The Fat Quarters were folded and placed in plastic bins according to color. These I can easily see when looking for specific colors for a project.
Now comes the “fun” part… what to do with all those bits and pieces that aren’t a fat quarter or are under a half-yard cut. Many of us hang on to all those pieces that are “too big to toss but might use someday.” Here’s where you need to decide if cutting those into more usable sizes is worth your time. If you like making scrappy projects, what are the sizes you use the most? 2” squares? 2-1/2” squares? Rectangles? Strips? Personally, I decided on four sizes for my smaller scraps: 5” squares (Charm Squares), 10” squares (Layer Cake), 1-1/2” strips, and 2-1/2” strips. The majority of the projects I work with call for these or larger sizes so I began cutting my smaller stash into those measures and have a bin for each size. What about the leftovers from those cuts? I put those in my “donation” pile for a friend who enjoys working with odd-shaped pieces.

I also donated fabrics from the “what was I thinking” category. The fabric was great when I bought it, but my taste and projects have changed; it won’t be used so I need to find a good home for it! Now, as I finish a project, I sort through the leftovers and keep what fits my fabric stash plan and the rest goes in the donation bag.
Online searches for fabric storage and fabric organization will give you lots of ideas on containers and display ideas for your stash. Keep in mind ease of access to your fabric and protection for the fabric as you consider storage.
My sewing life is much easier with my fabric stash “tamed” and reduced. It’s fun now to “shop” my stash when planning a new project. I don’t have to go buy the same piece of fabric again because I can’t find it! Next, taming my notions corner with all those rulers and threads!
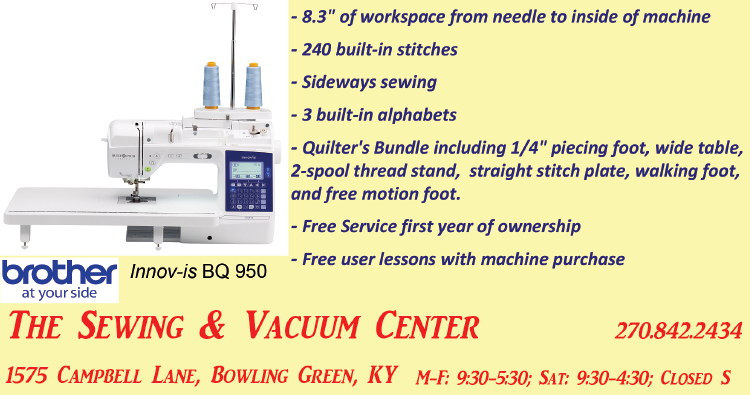
-submitted by The Sewing & Vacuum Center