Many customers looking at sewing machines today are overwhelmed with the number of stitches available on them – even on budget-priced models. Decorative stitches are fun and can add a lot of pizzazz to your projects.
Decorative stitches can be divided into two categories: Open stitches and Dense (satin stitches). Your machine may list several different groups of stitches such as character, cross-stitch, satin, alphabet and quilting but all of these fall under the two major categories. Follow our suggestions to make these stitches work for your projects.
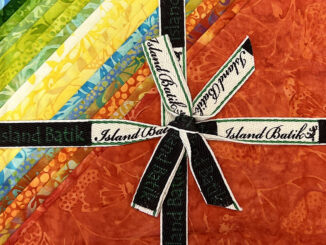
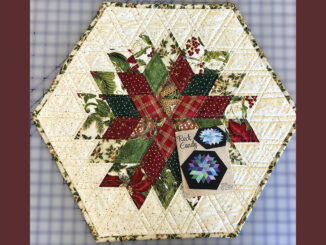
Decorative stitches can be used for many things such as stitching down quilt binding, crazy quilting, couching, raw edge appliqué and decorative topstitching.
Open stitches on the machine are made of single stitches repeating to make a design or letters. These patterns often move back and forth under the needle to make the design. There are several types of feet that work best to make this stitch. The open toe foot, Teflon or non-stick foot, monogram and reverse pattern are some that are good to use. Consult your owner’s manual for the correct foot for your machine. The open toe foot is especially good as you can see the exact position of the needle (the bar between the “toes” is removed in this foot).

To make the best open stitches:
•Prepare your project by using the correct stabilizer for your project. The stabilizer helps to support the stitches and keeps the fabric from stretching or tunneling. Lightweight machine embroidery stabilizers are good to use.
•Make sure you are using the correct needle for your fabric and that the needle is not dulled. A dull needle can result in skipped stitches or pulls in the fabric.
•Always do test stitching on a scrap of fabric from your project. Most machines will allow some adjustment to stitch width and length of the stitches. Test and see what works best before beginning your project. Testing will also allow you to adjust your needle tension, if needed.
•The thread and bobbin can be the same thread when making open stitches. These stitches don’t have a build-up of thread which calls for a finer bobbin thread.
•Keep notes of your decorative stitch use and especially any adjustments that you made. Keep the test sample along with the width and length adjustments that you made for future reference.
•If the stitches still do not look quite right, check to see if your machine has a stitch balance function. Many machines have this to let you fine-tune your stitches. Check your owner’s manual for directions.
•Take your time and stitch slowly!
Dense decorative stitches or satin stitches are designs that are made from zigzag stitches sitting very close together. These form behind the needle as the pattern is stitched.
To make the best dense stitches follow the guidelines for open stitches and also:
•Be sure that you use a foot with a hollowed-out area underneath that will let the dense stitches easily move under the foot. Check your owner’s manual for the correct foot for your machine.
•Avoid a build-up of thick thread in making these tighter stitches by using a lighter weight thread in the bobbin and decrease the top tension so that the upper thread will show along the edges of the stitch on the wrong side of the fabric. Machine embroidery bobbin thread works well for this.
Decorative threads and different weights of threads can also provide some beautiful effects with your stitching. Simple stitch designs look great using a slightly heavier (40 wt.) thread. Machine embroidery threads can also be used to make the decorative stitches. Be sure to match your needle size to your thread size.
Decorative stitches can greatly enhance your sewing projects. Take some time and experiment with the stitches on your machine. Play with the length and width adjustments and make notes as you do for future reference. You are sure to find some great uses for all those “fancy” stitches!
-submitted by The Sewing & Vacuum Center