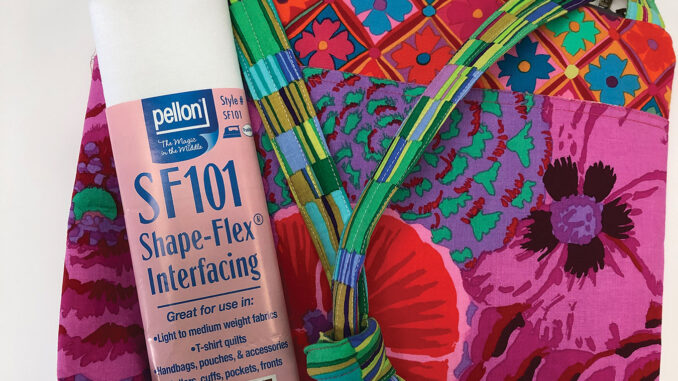
What is something that isn’t seen in a garment but makes a big difference if it is missing? Interfacing! This is a structural layer placed between two fabric layers when stiffening or stability is needed beyond what the fabric layers can offer. Interfacing is mostly used in garment construction, although it can be used in various craft projects (purses, pillows, etc.). Interfacing is also different from stabilizer that is used in machine embroidery and should not be used to stabilize embroidery.
Interfacings come in three main types: woven, non-woven, and knit. These are offered in various weights and colors. Choose the type that best suits your project. Interfacings are commonly found in collars, cuffs, facings, front openings under buttonholes, and sometimes under the entire front and backs of tailored garments.
Woven interfacings are similar to fabrics as they have a grain similar to fabric. These should be cut on the grain, the same as your fabric. These interfacings can be made from cotton or man-made fibers and tend to drape or keep the fabric “hand.”
Nonwoven interfacings are made from bonding or felting fibers together. These won’t ravel or stretch (as the wovens may do), but are less supple than the woven interfacings.
Knit interfacings are generally the softest, with more flexibility and crosswise stretch. These resemble lingerie tricot.
Interfacings can also be divided into two groups according to how they are attached to the fabric: sewn-in or fused. Fusible interfacing will have glue (most often small, raised dots) on one side that will attach to the fabric by heat. Sew-in interfacing is attached only at the seams and is otherwise separate from the garment.
Selecting an interfacing for a project can be a confusing task. Often, the pattern will give suggestions as to the type and weight needed for success. Here are some suggestions to keep in mind:
•The weight or hand of the interfacing should be similar to the fabric unless you are creating a special effect. Interfacing does come in various weights from featherweight to heavy or craft weight.
•White is the most common color of interfacing, although you may also find cream and black choices. The interfacing should not change the color of the outer fabric when applied.
•Read the care instructions carefully (most interfacings are sold with care instructions: Read before you discard!). These instructions will include how to attach the interfacing as well as washing instructions.
•Fusible interfacings will be a bit firmer than non-fusibles due to the glue needed for adhering.
•Check your fabric as to the type of interfacing needed; some fabrics such as metallics or velvets, cannot take the fusibles due to the heat and pressure needed for the fusing.
It’s always a good idea to do a test application of the interfacing to a scrap of project fabric to see if it provides the support the project needs. Follow the recommended setting for heat, time, and pressure the manufacturer recommends. Also, using a pressing cloth can be a good aid – this will help protect the iron and fabric from heat or fusing mishaps.
For craft projects requiring interfacing, look for “craft weight” or non-sew interfacings. These are heavier and stiffer than garment weight interfacings and work well for crafts such as bowls, lampshades, 3-dimensional objects, etc.
In quilting, interfacings are rarely used with the exception of T-shirt quilts. Interfacing is needed on the back of the shirts to keep them from stretching as they are sewn. I prefer the knit interfacing for this as it has the same weight/drape as the T-shirt and keeps the quilt from becoming stiff. Nonwoven fusible interfacing is also acceptable to use but can make the shirts a bit stiff.
Get to know the various interfacings available for sewing and crafting and you will be sure to find the right one for your project!
-submitted by The Sewing & Vacuum Center


Be the first to comment